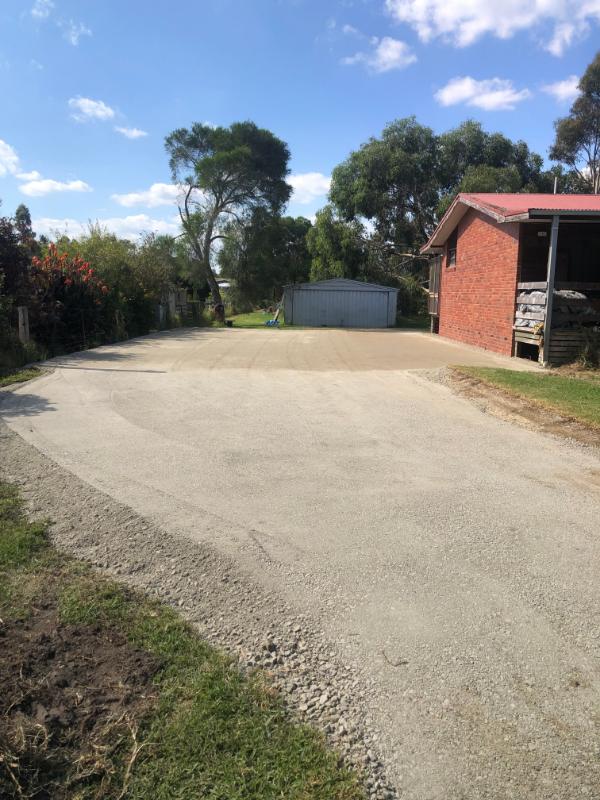
Step-by-Step Guide to Constructing a Gravel Driveway
Key steps to ensure durability and functionality.
Planning and Preparation:
Measure the area and calculate the amount of gravel needed.
Obtain necessary permits and check local regulations.
Gathering Materials and Equipment:
Purchase gravel, geotextile fabric, edging material, and any required tools (e.g., shovel, wheelbarrow, compactor).
Site Preparation:
Clear the area of vegetation, rocks, and debris.
Grade the surface to ensure proper drainage.
Installation of Edging: Install plastic, metal, or wood edging along the sides of the driveway to contain the gravel.
Laying Geotextile Fabric: Lay down a layer of geotextile fabric to prevent weeds and improve stability.
Spreading Gravel: Spread a layer of gravel evenly over the fabric, typically 4-6 inches thick.
Compacting and Smoothing: Use a mechanical compactor to compact the gravel and create a smooth, even surface.
Regular Maintenance of your Gravel Driveway:
Regular Grading: Use a tractor or grader to redistribute gravel and smooth out the surface.
Weed Control: Apply weed killer or pull weeds regularly to prevent them from growing through the gravel.
Repair Potholes: Fill potholes with additional gravel and compact it to match the surrounding area.
Edge Maintenance: Keep the edges of the driveway neat and contained by repairing or replacing edging materials.
Proper Drainage: Ensure proper drainage to prevent water from pooling and causing erosion.
Addition of New Gravel: Periodically add new gravel to maintain the desired thickness and levelness.
Optional Finishing Touches: Consider adding a top layer of finer gravel for a more polished look.
Constructing a gravel driveway requires careful planning, proper materials, and attention to detail to ensure a long-lasting and functional driveway.
Constructing a gravel driveway is a cost-effective and relatively simple project that can enhance the functionality and aesthetics of your property. Follow these steps for a successful gravel driveway installation:
Plan and Prepare: Measure the area for the driveway and mark it with stakes. Remove any grass, rocks, or debris from the area. Determine the depth of the gravel base (usually 4-6 inches).
Gather Materials: Purchase the necessary materials, including gravel, geotextile fabric, and edging materials if desired.
Excavation: Use a shovel, backhoe, or excavator to dig out the driveway area to the desired depth. Ensure the ground is graded to promote proper drainage away from structures.
Install Geotextile Fabric: Lay down a layer of geotextile fabric to prevent weeds from growing through the gravel and to stabilize the base.
Add Gravel Base: Spread a layer of gravel (usually 4-6 inches) evenly over the area and compact it using a compactor or roller.
Add Gravel Topping: Spread a top layer of gravel (1-2 inches) over the base layer and rake it evenly.
Compact and Maintain: Use a compactor or roller to compact the gravel. Periodically add more gravel to maintain the driveway’s level and fill in any low spots.
Install Edging (Optional): Install edging along the sides of the driveway to help contain the gravel and prevent it from spreading.
By following these steps, you can create a durable and attractive gravel driveway that will enhance the functionality and value of your property.
Essential Tips for Building a Durable Gravel Drive
Building a durable gravel driveway requires careful planning and proper execution. Here are some essential tips to ensure your gravel drive stands the test of time:
Proper Base: The key to a long-lasting gravel driveway is a solid base. Ensure the ground is properly graded and compacted before adding gravel.
Quality Gravel: Use high-quality gravel that is angular in shape and contains a mix of different sizes. Opt for crushed stone with angular edges, as opposed to round pebbles. These interlocking pieces create a more stable surface and resist displacement by vehicles or foot traffic. Select the appropriate size based on your desired aesthetics and anticipated use. This helps the gravel interlock and provides better stability.
Thickness: Aim for a gravel layer of at least 100-150mm. for the base and 25-50mm. for the top layer. This provides adequate support and prevents the gravel from shifting.
Use Geotextile Fabric: Installing geotextile fabric under the gravel can help prevent weeds from growing through and stabilize the driveway.
Proper Drainage: Ensure the driveway has proper drainage to prevent water from pooling. Grade the driveway to slope away from structures and install ditches or drains if necessary.
Regular Maintenance: To keep your gravel driveway in top condition, regularly rake the surface to remove debris and add more gravel as needed to fill in low spots.
- Edging: Install sturdy edging along the perimeter of your driveway. This confines the gravel, prevents it from spreading, and adds a defined, finished look. Popular options include concrete curbs, pavers, or treated wood.
- Weed Control: Weeds can push through gravel and disrupt its stability. Laying a high-quality weed barrier fabric beneath the gravel significantly reduces weed growth. Overlap the fabric at the seams and secure it with landscape staples.
By following these tips, you can build a durable gravel driveway that will last for years to come.